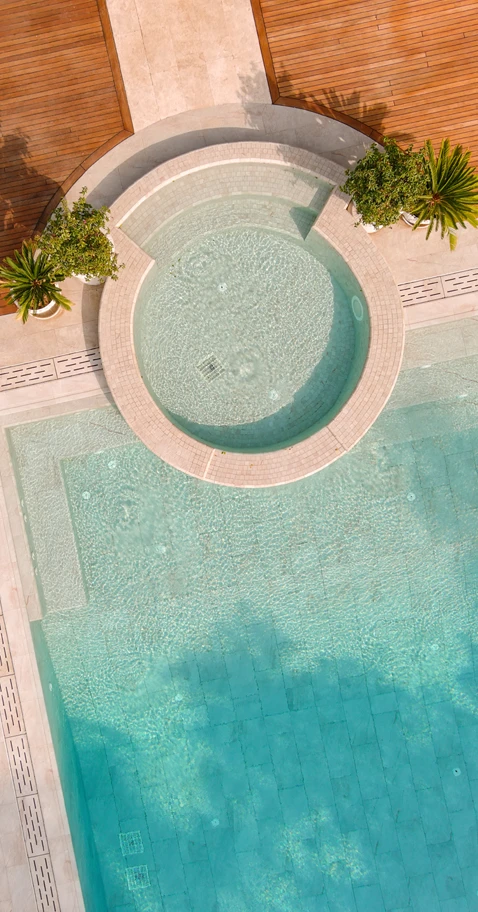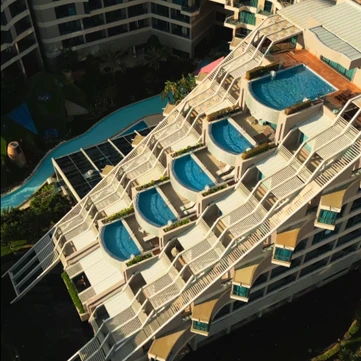
A swimming pool is not merely a water-filled structure—it's a unique living space where relaxation, aesthetics, and enjoyment merge. But what is the key element that elevates a pool’s beauty? You guessed it: Pool Tiles.
The secret to creating a visually striking and highly functional pool lies in selecting the right tiles and applying professional installation techniques. Whether you’re designing a private backyard retreat or managing a premium commercial project, understanding the tile installation process is essential for long-term success.
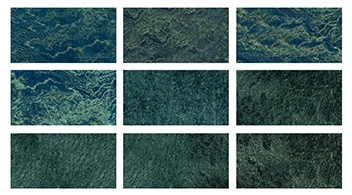
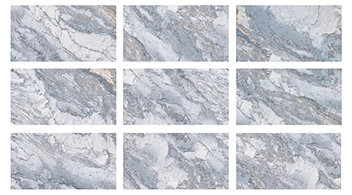
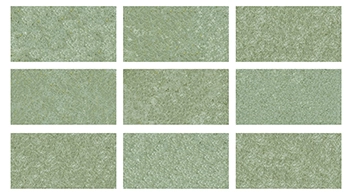
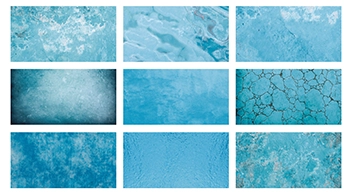
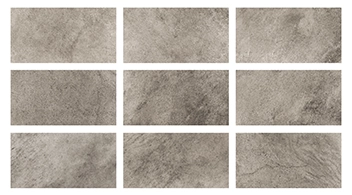
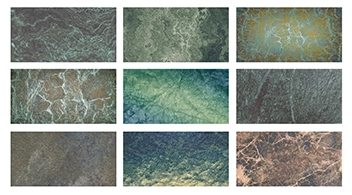
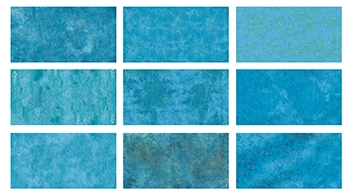
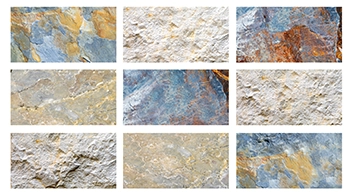
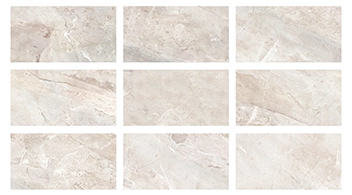
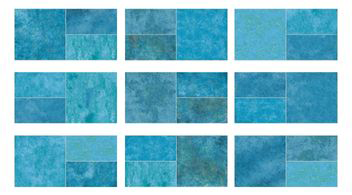
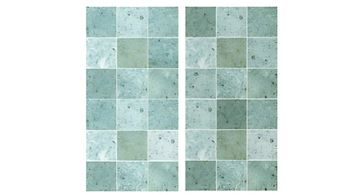
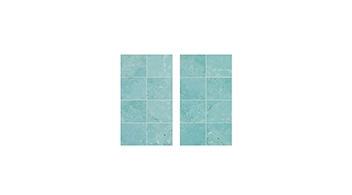
Choosing the Right Pool Tile Dimensions
The balance between functionality and visual harmony begins with selecting the proper tile size. The dimensions of your pool and surrounding space significantly influence the final aesthetic.
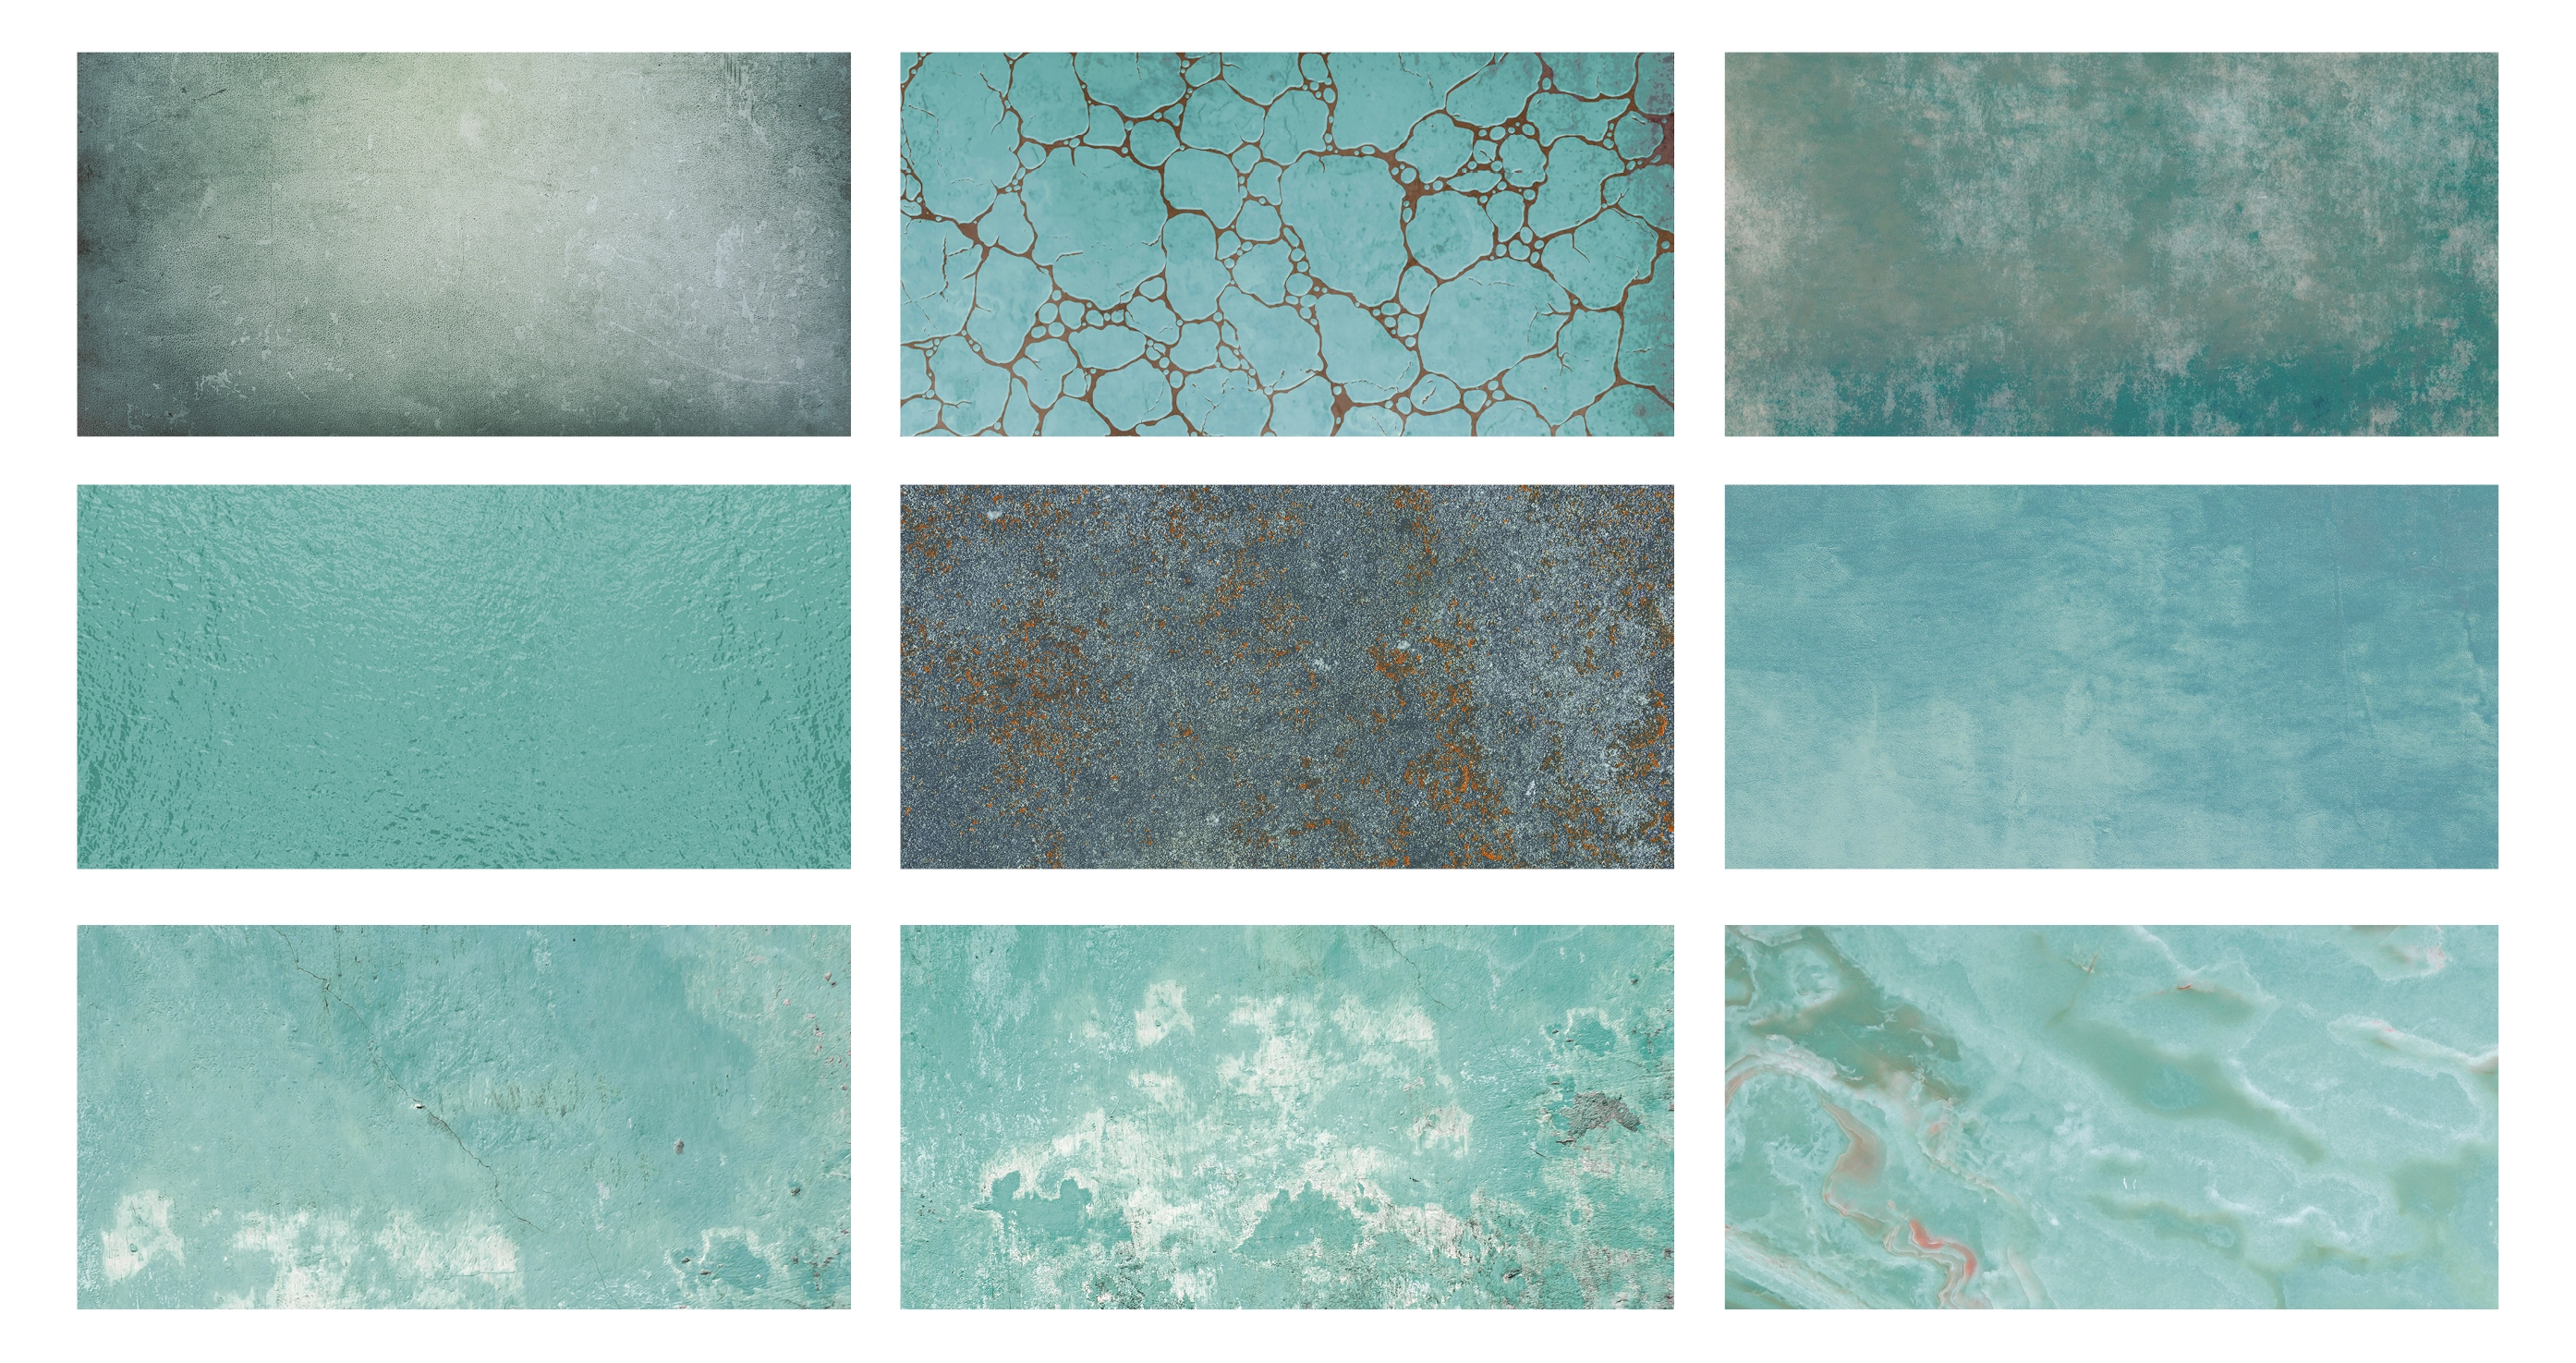
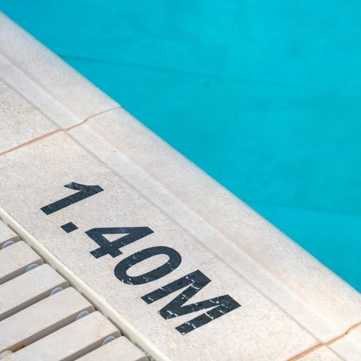
In wet areas such as the Pool Edge System, anti-slip safety becomes as important as elegance. Choosing Anti Slip Pool Tiles ensures not only a comfortable walking surface but also protection against slipping hazards.
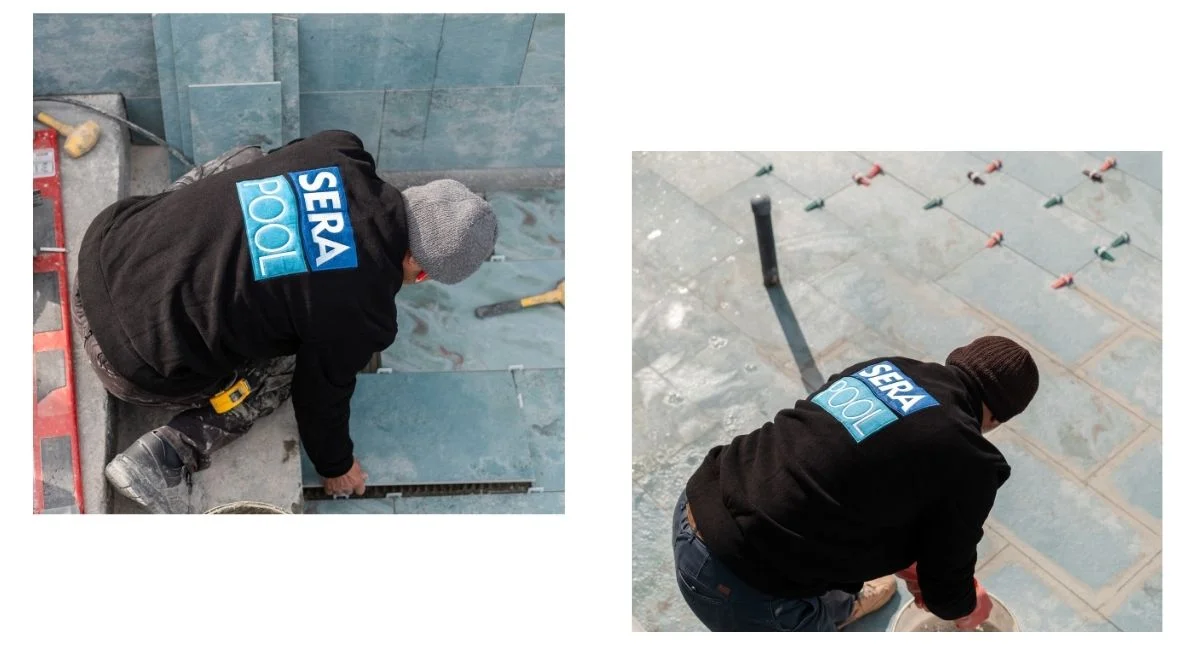
Key Steps of Pool Tile Installation
Reaching your dream pool requires more than just choosing the right Porcelain Tiles—it demands precision in every installation phase. Here are the three essential steps for a flawless finish:
1. Surface Preparation
Every project begins with a clean, structurally sound surface. Dust, dirt, and damaged areas must be thoroughly removed or repaired. If replacing old tiles, the pool must be drained and allowed to dry completely. Attention to detail during this stage ensures long-term durability.
2. Waterproof Mortar Application
Sealing the pool structure is essential for both performance and longevity. Waterproof mortar should be applied in two even coats. Adequate drying time between layers is vital to achieve a water-tight result.
3. Tile Placement
Tiles define the pool’s character. They should be laid with 3 mm spacing and secured with high-quality adhesive. Once in place, joints are filled using epoxy grout. Each stage must be handled with care to ensure aesthetics and durability.
Post-Installation Guidelines
Even the most elegant Pool Tiles must be given time to cure after installation. A minimum 72-hour waiting period before any water contact is crucial for proper adhesion.
During the first 24 hours, tiles begin to settle. The grouting process then follows, requiring an additional 48-hour drying period. Weather conditions can affect curing, so adjust timing accordingly.
Before full use, the pool should be filled and inspected for leaks or surface irregularities. Should any issues arise, it is essential to consult with expert technicians immediately.
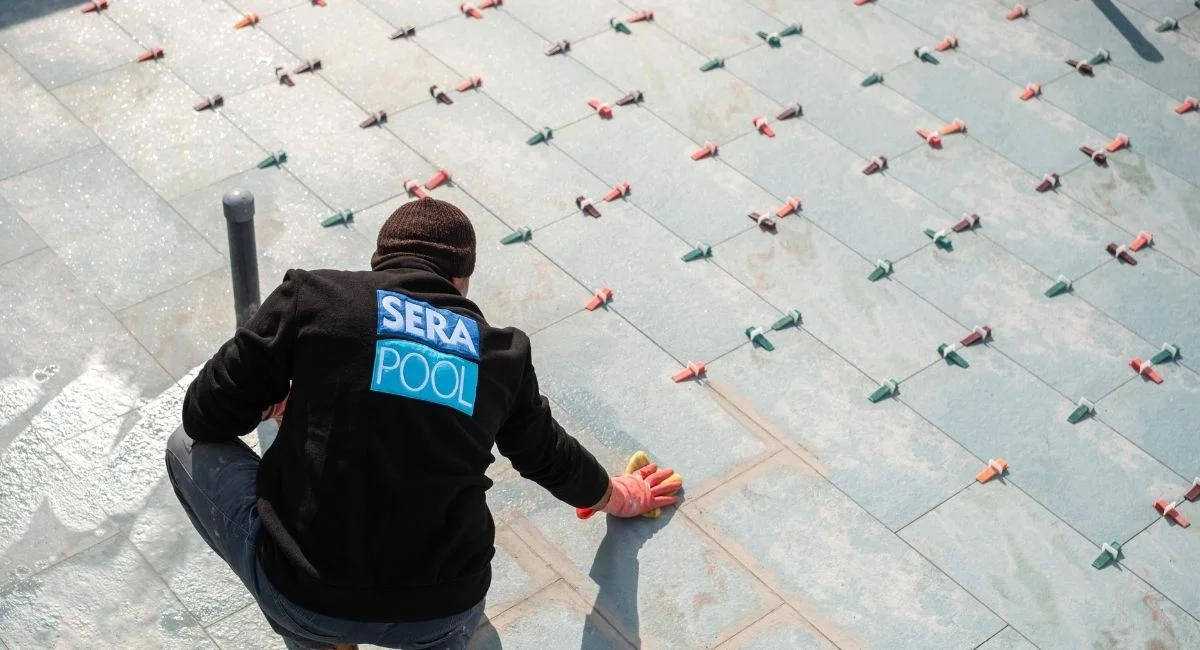
Pro Tips from Serapool for Perfect Pool Tile Installation
At Serapool, we combine functionality and elegance through our 100% Porcelain Tiles. To ensure flawless installation, consider these professional insights:
The mortar mix consistency plays a vital role—aim for a flowable, non-runny mixture by following product guidelines precisely. This improves bond strength and extends durability.
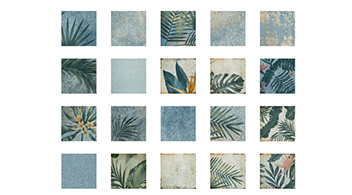
Pool size and style should influence your tile selection. In smaller pools, lighter tones can create a spacious feel. For example, the Snow White Series from Serapool adds a luminous touch that suits both classic and modern pool aesthetics.
With Serapool’s advanced surface technology, our Anti Slip Pool Tiles deliver both style and safety. Why not enhance your project with the ideal dimensions and surface textures? With Serapool, every detail transforms into a statement of design.