Swimming pools are among the most enjoyable spaces where we relax with the soothing power of water or share fun moments with loved ones. To ensure this enjoyment lasts for years without any issues, proper pool waterproofing and the selection of high-quality pool tiles are essential. Choosing the right materials and applying them correctly plays a critical role in extending the life of a swimming pool.
In this article, we outline key aspects of proper waterproofing, porcelain pool tile installation, and grouting application to help you achieve a durable and long-lasting swimming pool.

How Is Pool Waterproofing Done?
The foundation of effective waterproofing starts with proper substrate preparation. The better the surface preparation, the higher the performance of waterproofing and pool tile installation. Therefore, all segregation and formwork errors that occur during mold removal must be repaired using structural repair mortars of class R3 or R4 to achieve a smooth and even surface. Additionally, pipe passages, projector slots, and drains must be repaired with appropriate mortar before starting the waterproofing process.
Why Is Pool Waterproofing Important?
After completing surface preparation, the next step is applying the waterproofing system. It’s crucial to use an alkali-resistant edge band and mesh, and to choose a cement-based, fully elastic waterproofing material.
The waterproofing system should be applied as follows:
- The edge band is applied to the corners and fixed securely.
- The first coat of waterproofing is applied over the entire surface.
- While the first coat is still wet, the mesh is embedded, followed by the second coat.
- A waiting time of 5–6 hours between coats ensures proper drying.
- After waterproofing is complete, a curing period of 5 days is required before beginning tile installation.
Choosing the Ideal Pool Tile: What Should You Consider?
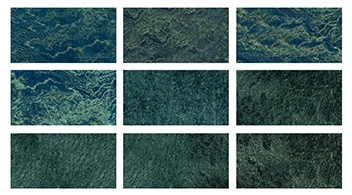
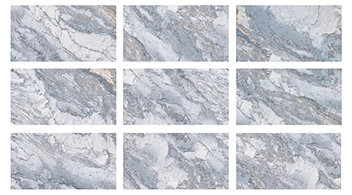
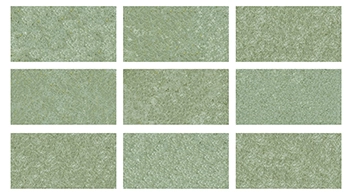
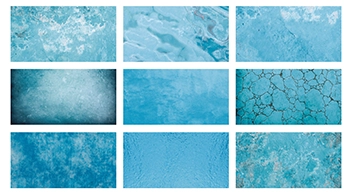
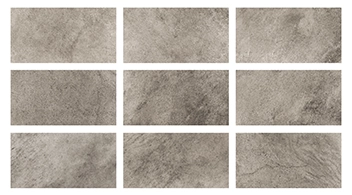
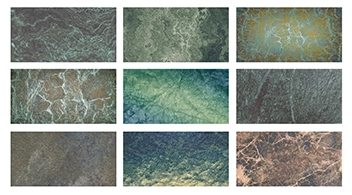
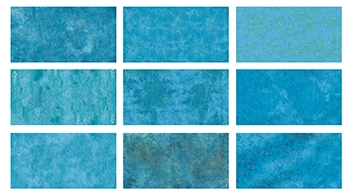
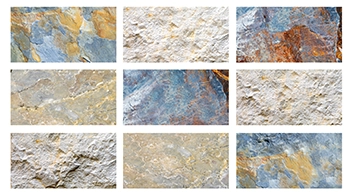
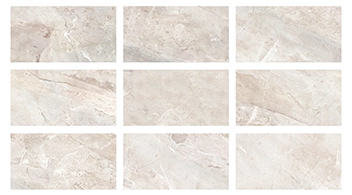
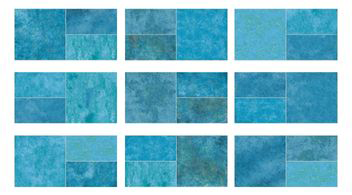
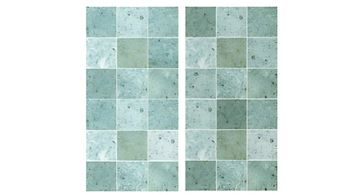
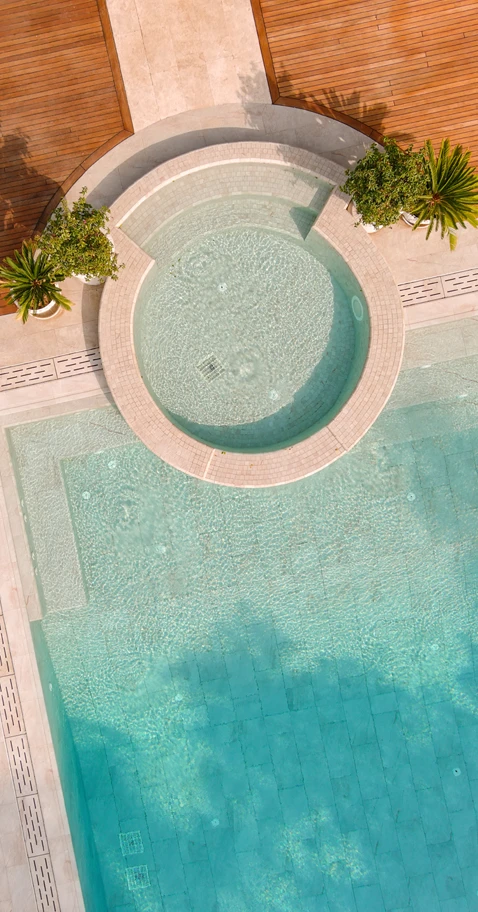
Porcelain Tiles are the most ideal, hygienic, and durable option for pools. The selected Pool Tiles must withstand sudden and extreme temperature changes and be frost-resistant. They should have a water absorption rate of less than 3/1000, be manufactured from high-quality raw materials, and be properly fired. Only Pool Tiles with these specifications can offer long-term durability—making porcelain the optimal choice.
Tips for Choosing Pool Tile Adhesives and Installation Techniques
Another critical selection is the tile adhesive. A C2TE S1 flex adhesive should be used. The adhesive must be mixed with the correct water ratio and allowed to rest. This allows the polymers and chemicals to react properly for enhanced performance.
- The adhesive is then mixed a second time before application.
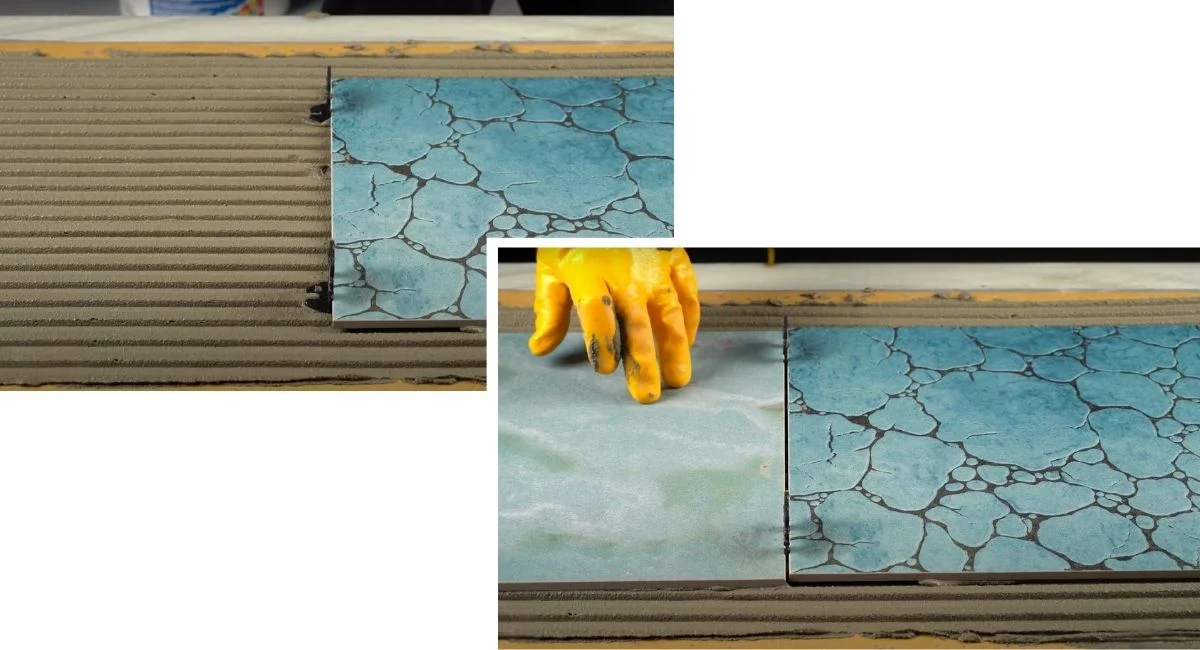
- It is spread onto the surface using a notched trowel in a linear pattern to prevent air pockets and ensure full bonding.
- Adhesive should also be applied to the back of the Pool Tiles for optimal grip.
- After tile application, a 48-hour curing period is essential to prevent issues like efflorescence.
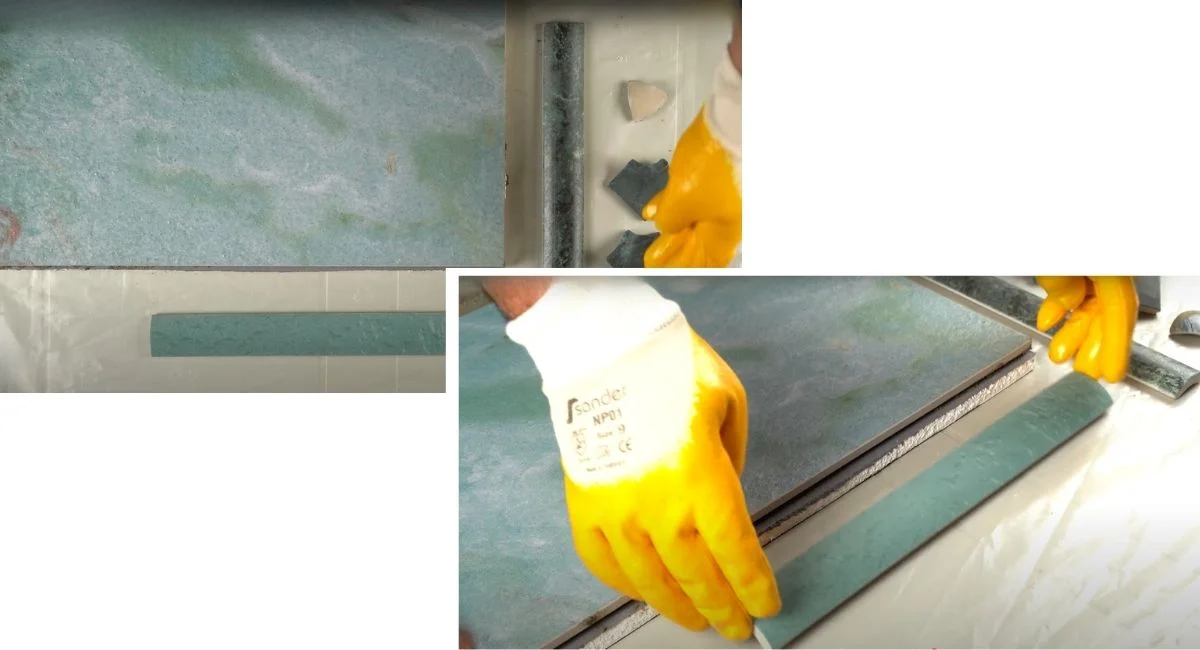
- Using Inner Trim and Outer Trim pieces at inner and outer corners helps prevent injuries.
How Is Pool Grouting Done?
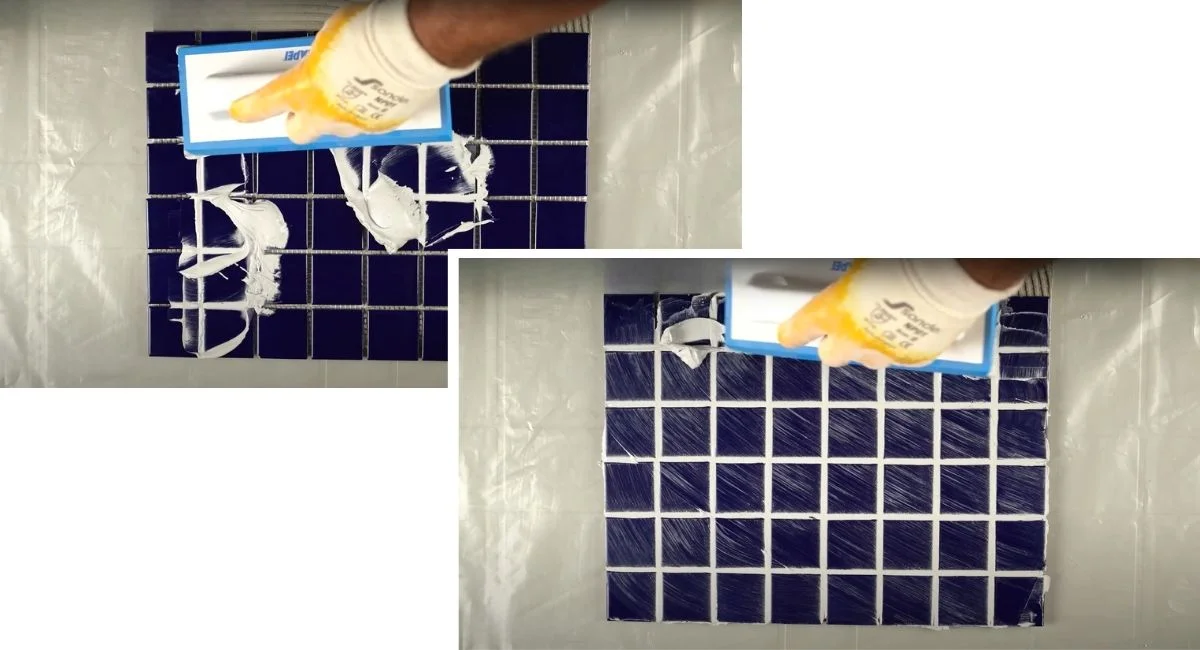
Another key consideration is the grout joint width between tiles. Leaving at least a 3 mm gap is critical to accommodate movement caused by seasonal changes, water pressure, or ground shifts.
Joints narrower than 3 mm may not be filled completely, causing air pockets that degrade under exposure to water and chemicals. Hence, the tiles should be installed with 3 mm gaps.
A flexible grout material should be selected and mixed with the correct water ratio. After resting to allow pigments to mix evenly, the material should be stirred again before application to avoid color inconsistencies.
After grouting, the surface should be cleaned, and silicone mastic should be applied to expansion joints and corners.
Efflorescence in Pool Grout: Prevention and Repair Tips
Efflorescence, or salt residue, can occur for two reasons:
If each step is not given time to fully cure, residual moisture rises to the surface and carries salts, forming white residues in grout lines, especially when using Porcelain Tiles.
If the tiles are made of high-absorption Ceramic Tiles or natural stone, the salt residues may also emerge from the material itself, not just the grout.
The right material selection and proper application ensure a Safe, Durable, and long-lasting pool.